Property Photography
Homeowner or Interior Designer
Whether you're a homeowner looking to sell your property or an interior designer wanting to showcase your work, the process of preparing for a property photography shoot involves careful planning and consideration. Here are some steps you can take to ensure a successful photoshoot.

Determine Your Goal
Define what you want to achieve with these photographs. If you're selling a property, the goal might be to make the space look as spacious, light, and inviting as possible. If you're an interior designer, you may want to focus on showing off specific design elements.
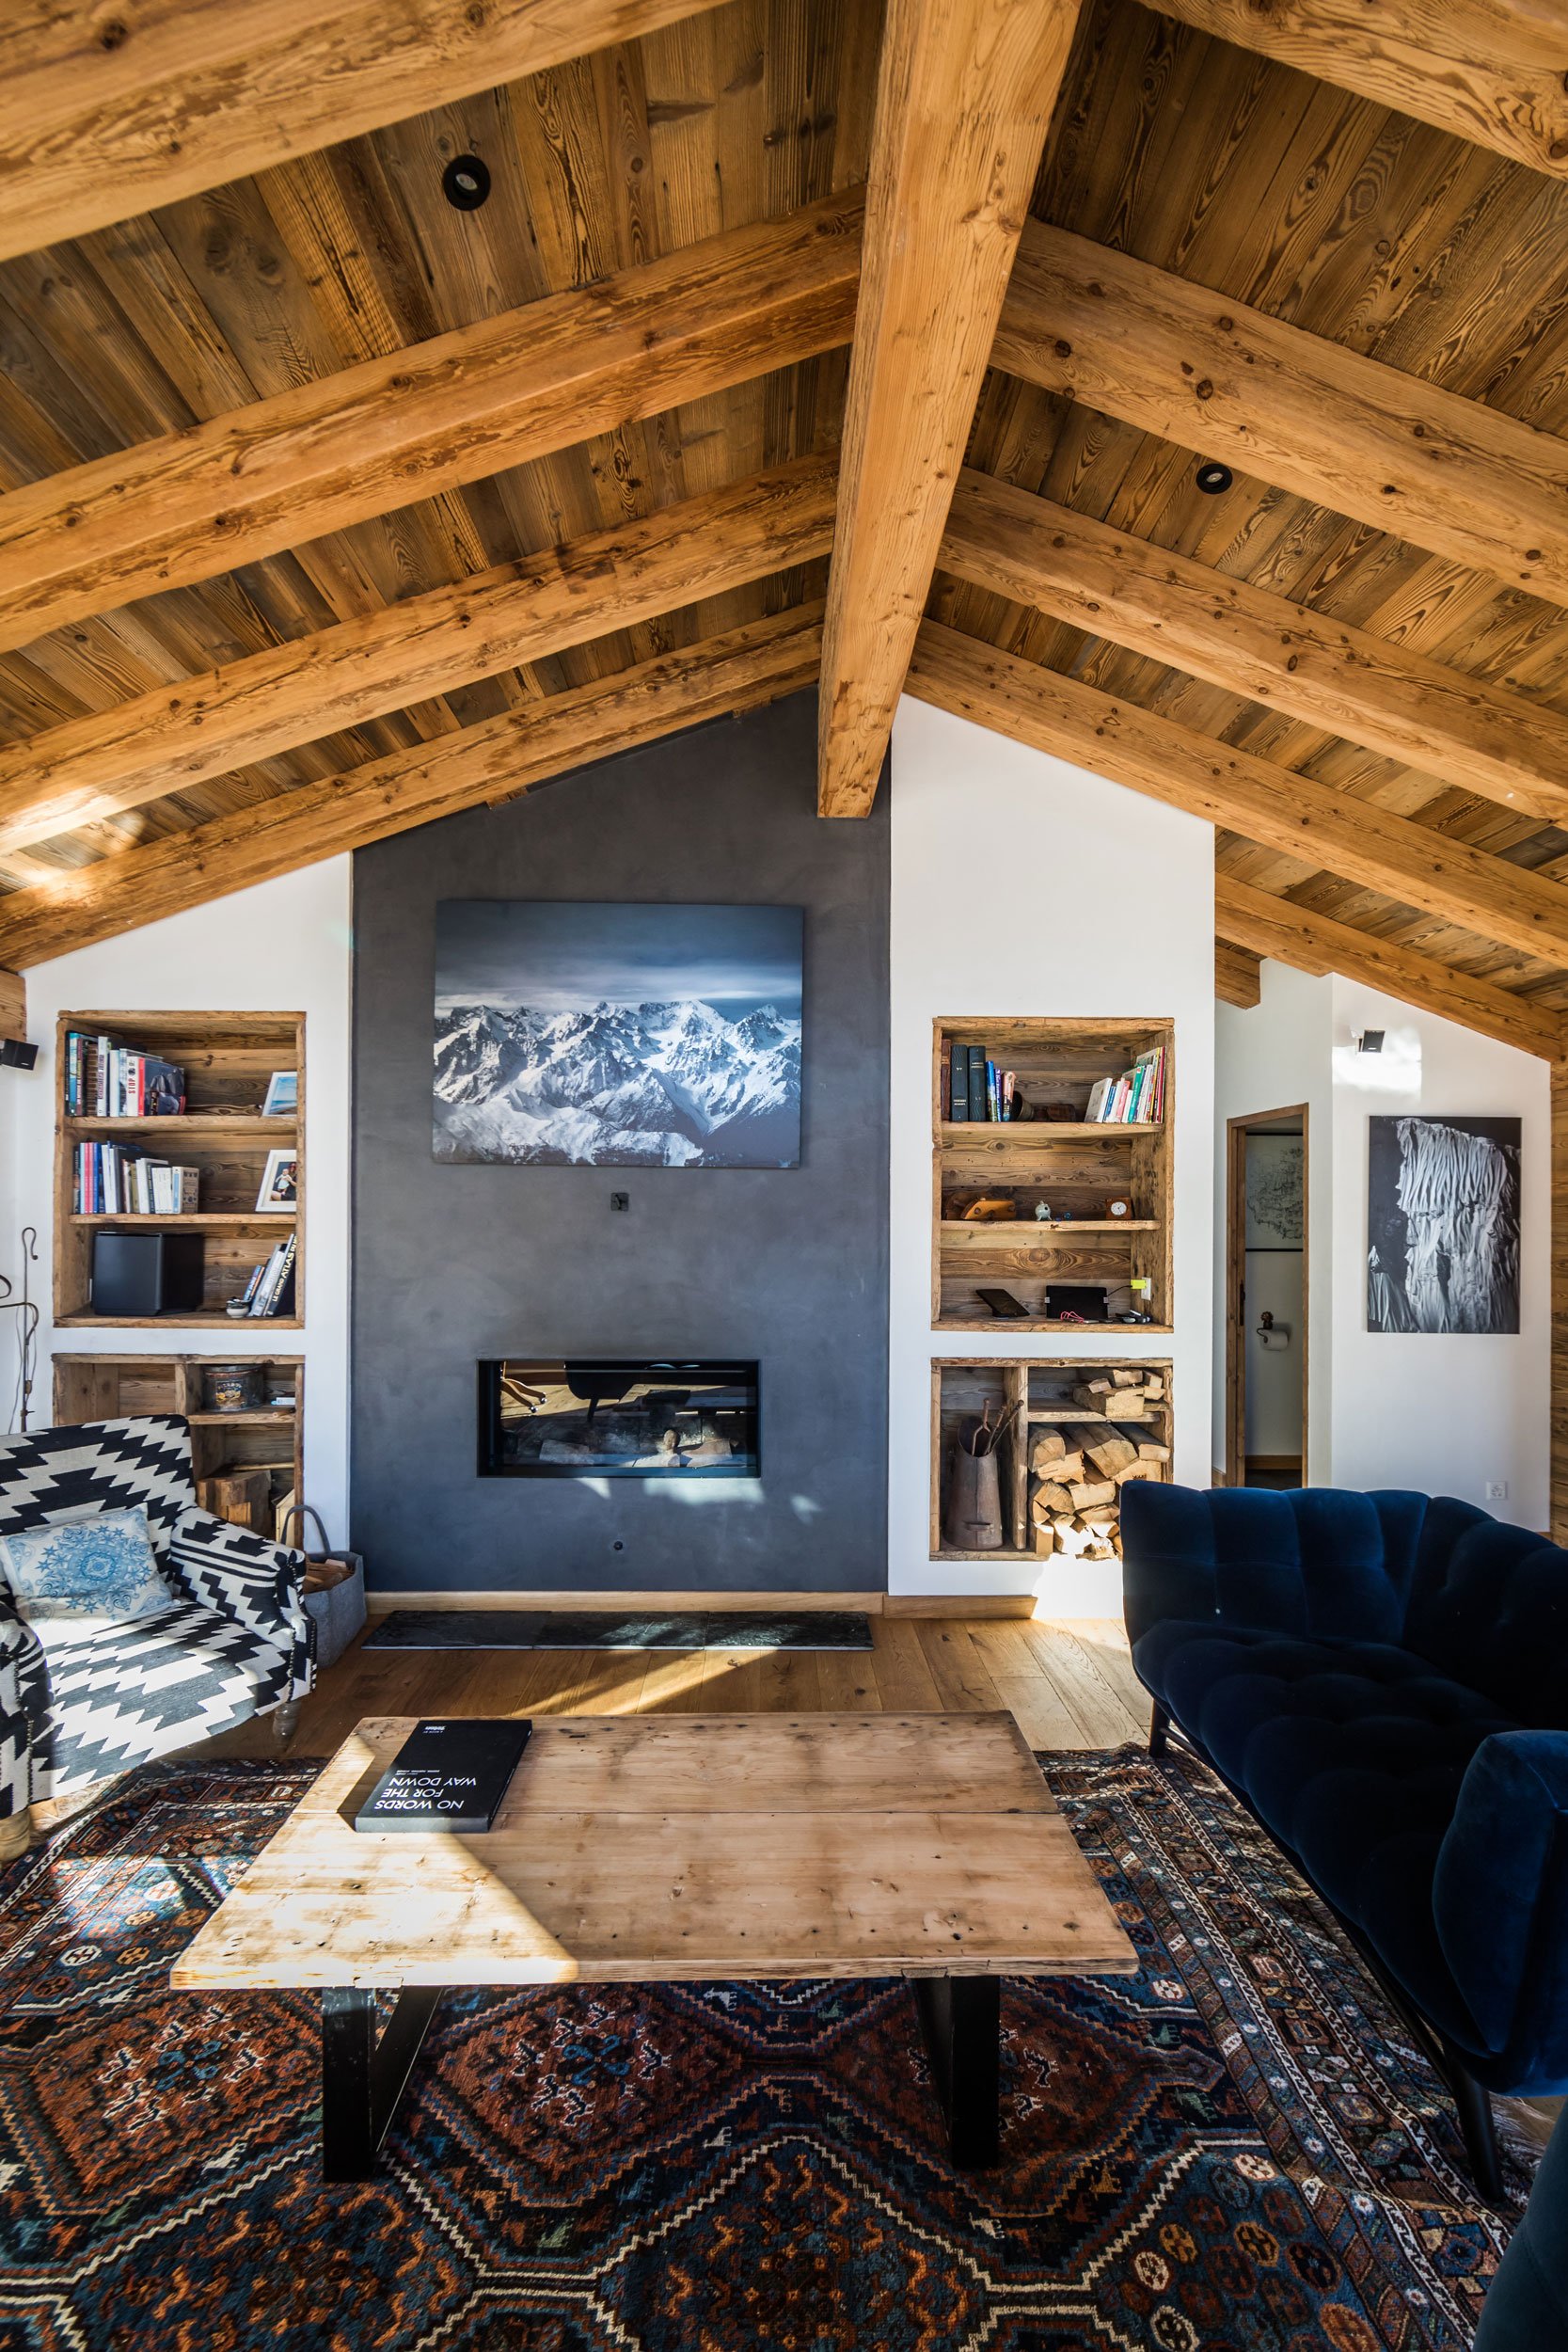
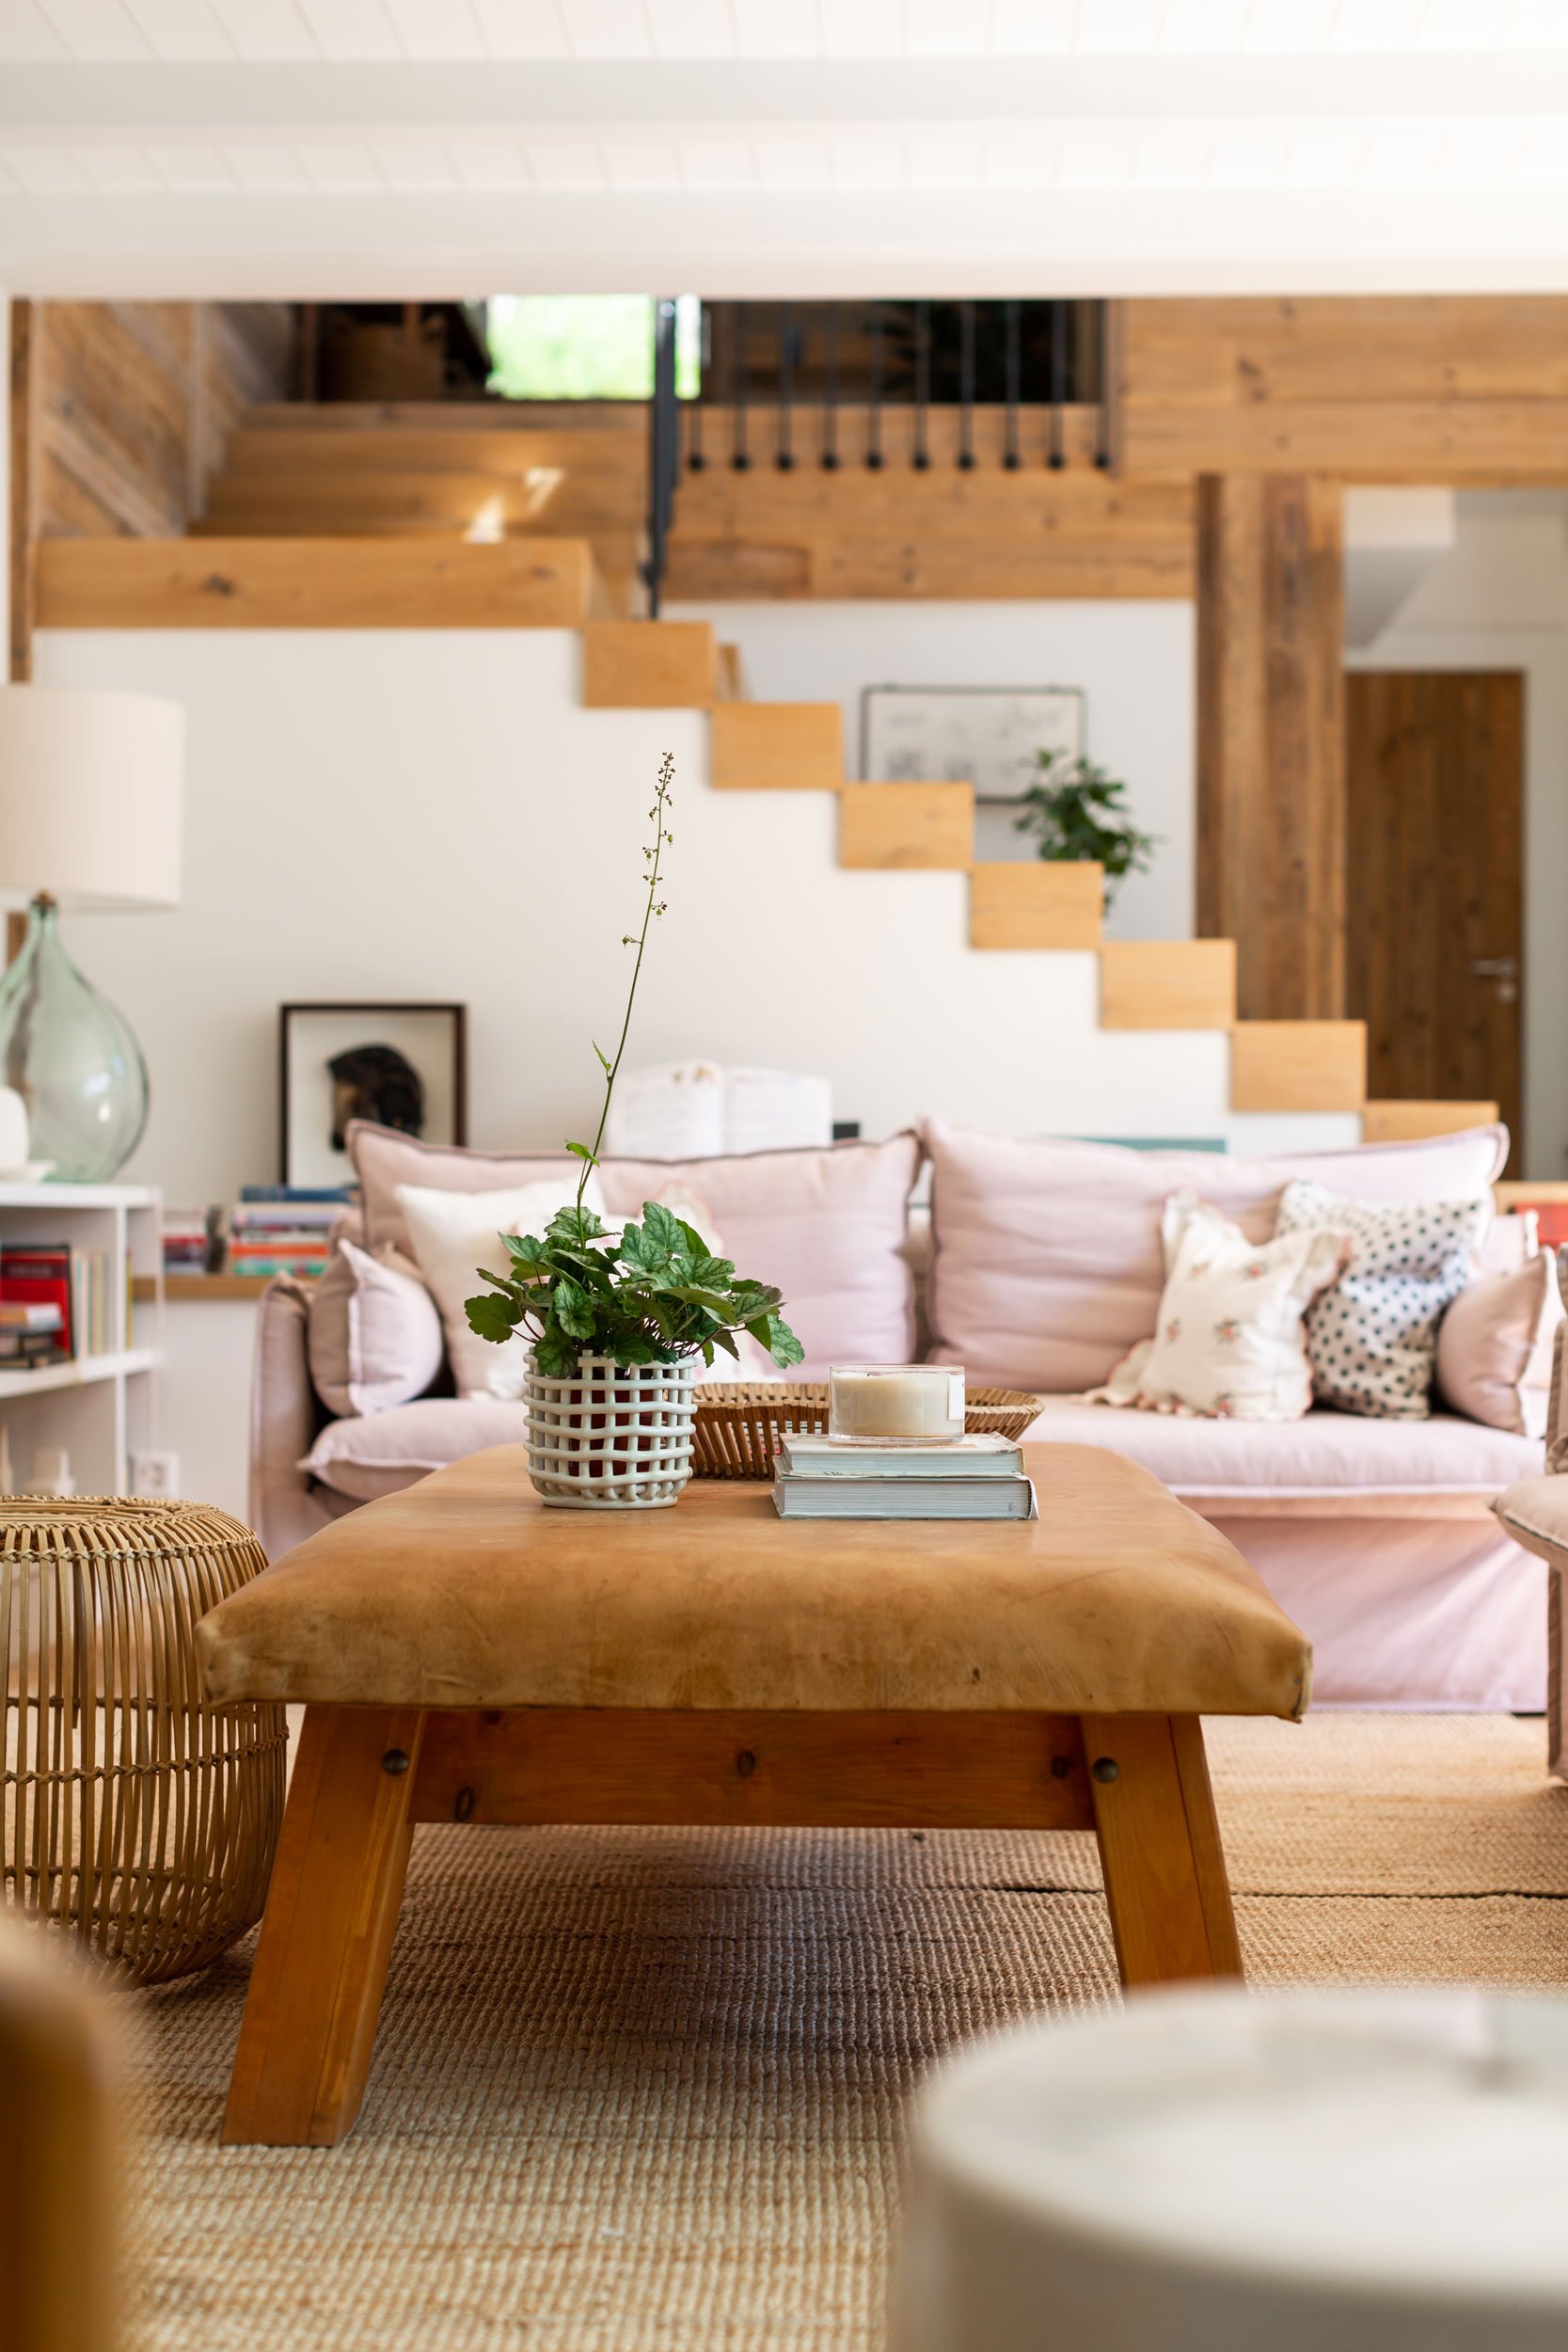
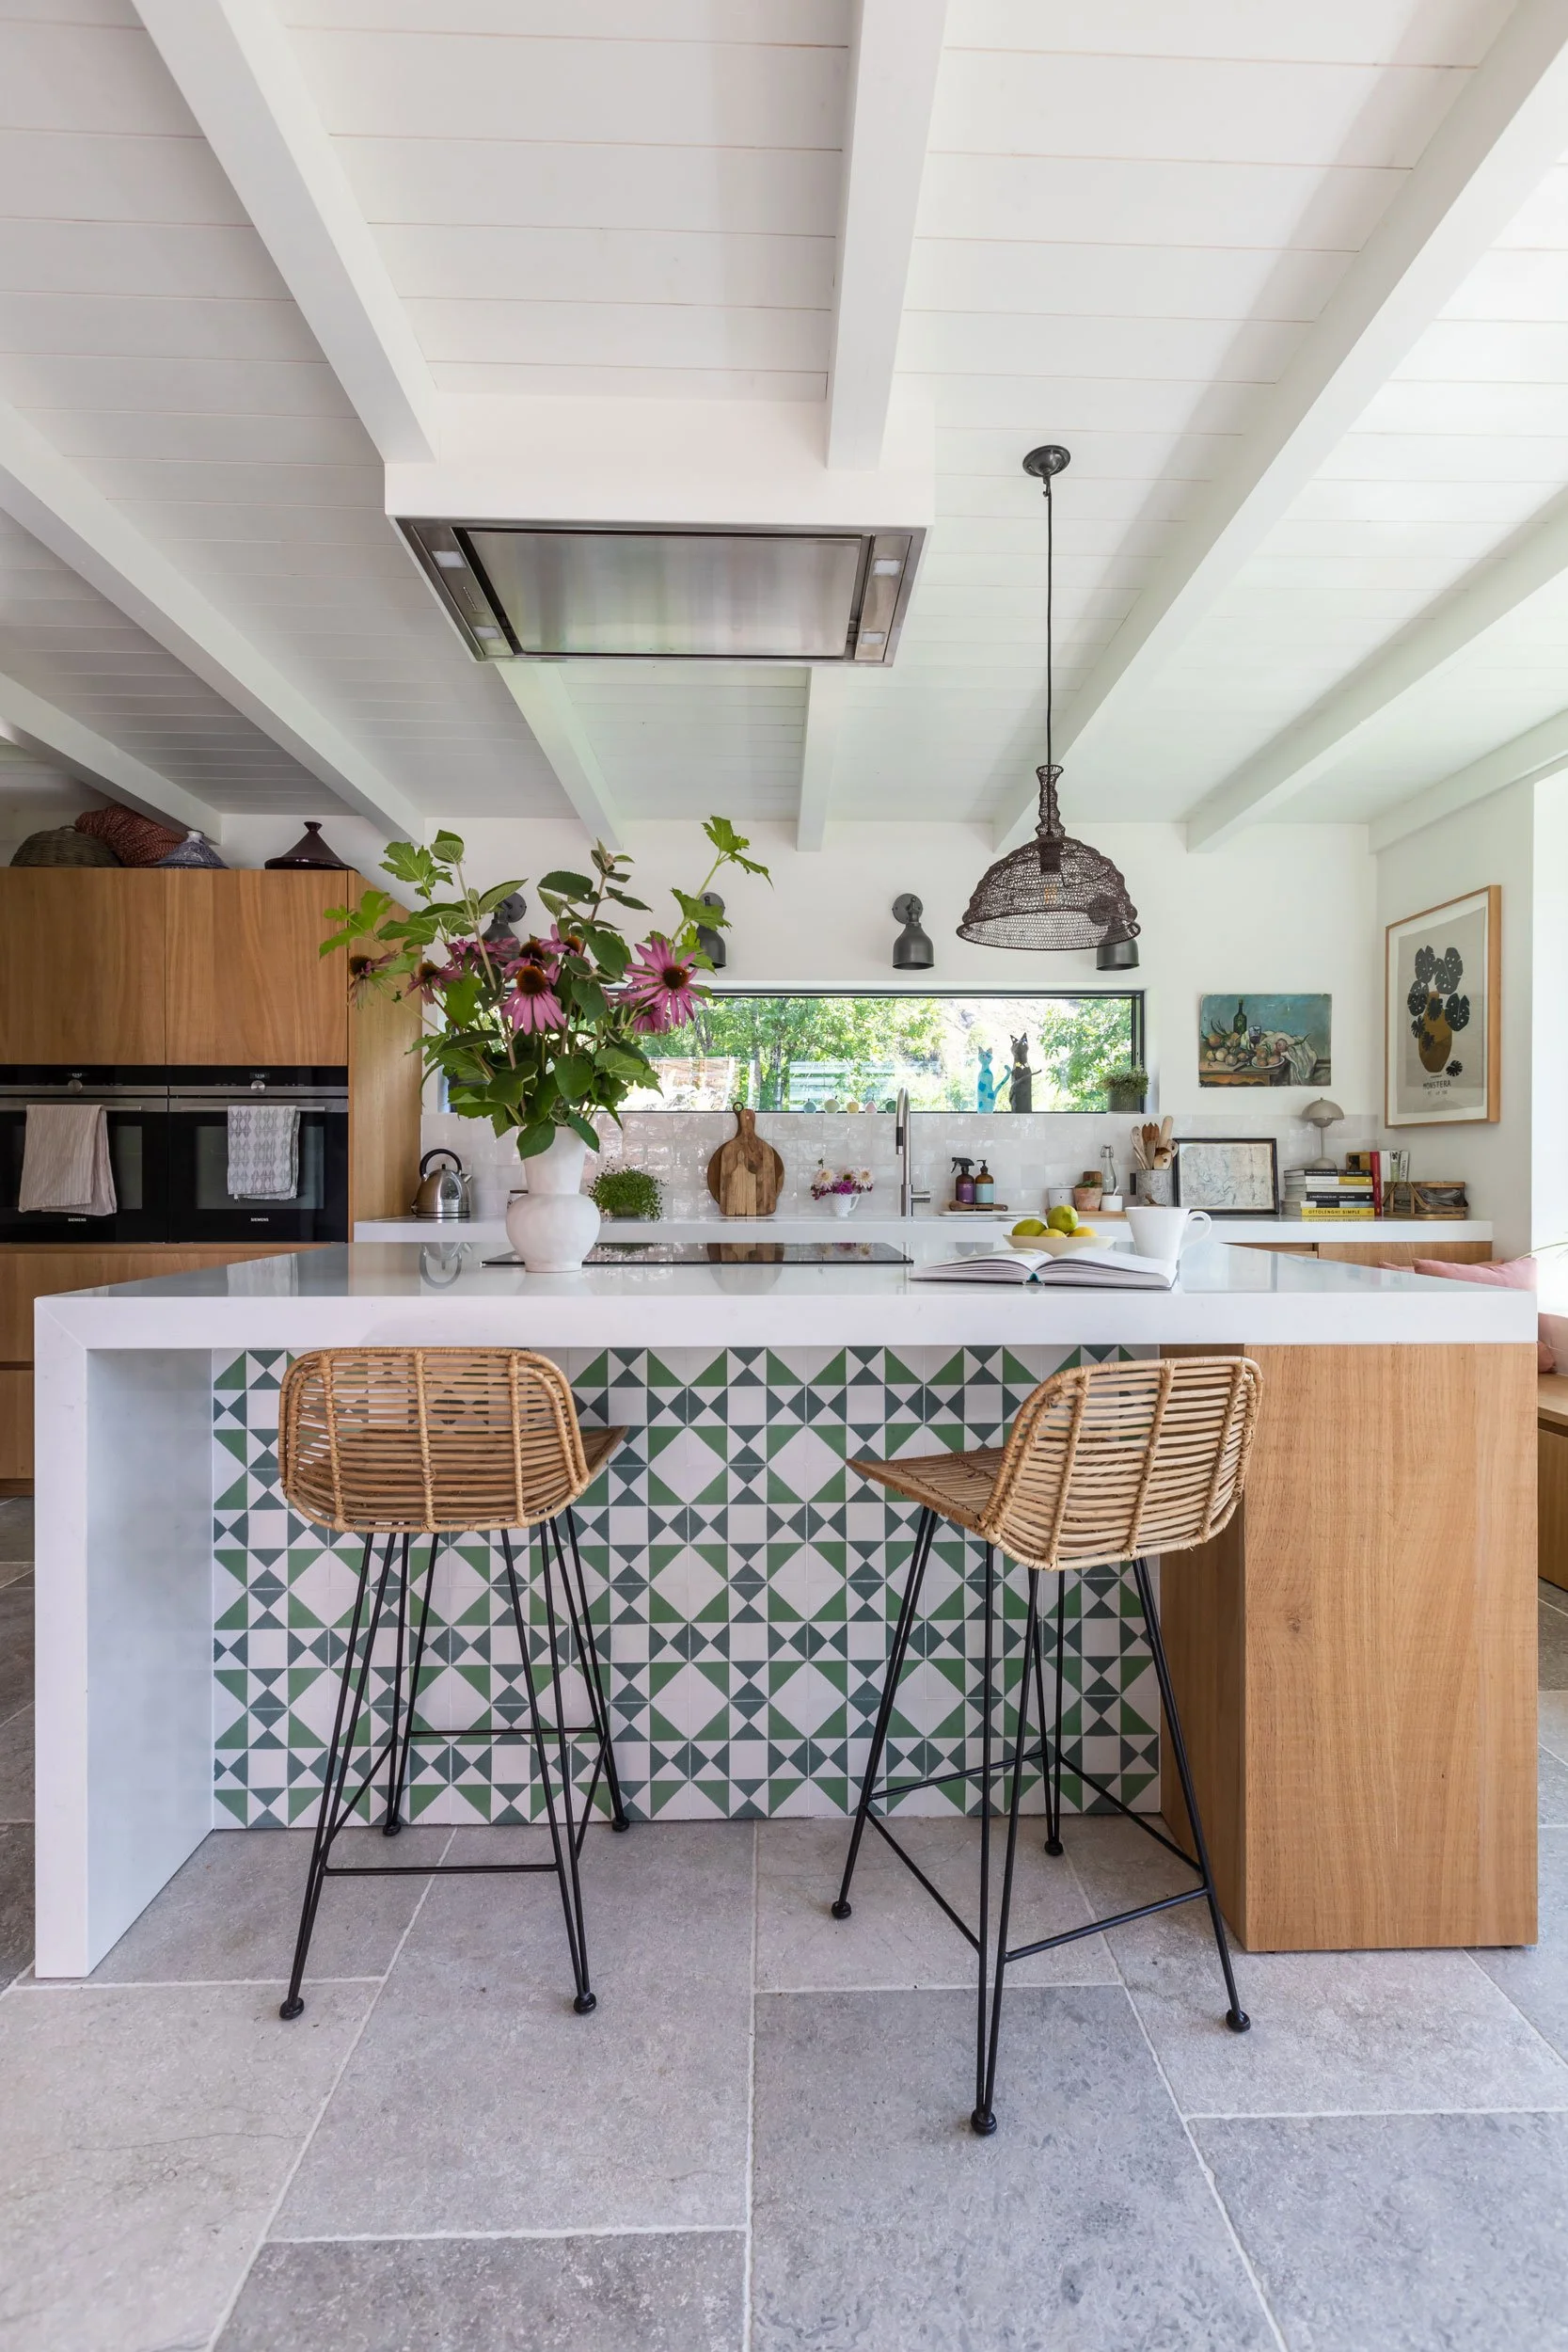
Prepare the Property
Clean and declutter each room to be photographed. Ensure all lights are working, windows and mirrors are clean, surfaces are dust free, cables/wires are hidden, sheets are pressed and unnecessary items are out of sight. Staging the property is crucial, you want to create a balance between a lived-in look and an uncluttered space.
Plan the Shots
Decide which rooms or areas to photograph. Your photographer will guide you, but generally, it's a good idea to include key rooms like the living room, kitchen, master bedroom, and any unique features of the property. If you are selling the property, you might want to photograph all rooms but not include artistic details. If it is for a magazine or promotion, the artistic detail adds some style and design. If you’re renting you may also want a little of this.
Set the Stage
Add some life to your space. This can include setting the dining table, adding flowers, arranging a few books on the coffee table, fluffing the pillows, etc. Remember that each item should contribute to the overall look and feel you're trying to achieve.
Consider the Lighting
Schedule the shoot at a time when the property gets the best natural light. This can significantly enhance the look of your space. For example, in the mountains in verbier, you do not want the light to cause harsh shadows and highlights. The softer light is better. So perhaps choose a time when the light is bright but the sun is not directly in front. It is also better to have a good outdoor/indoor balance through the windows if you work well with the light. Your photographer can advise on the best time depending on the orientation of the property.
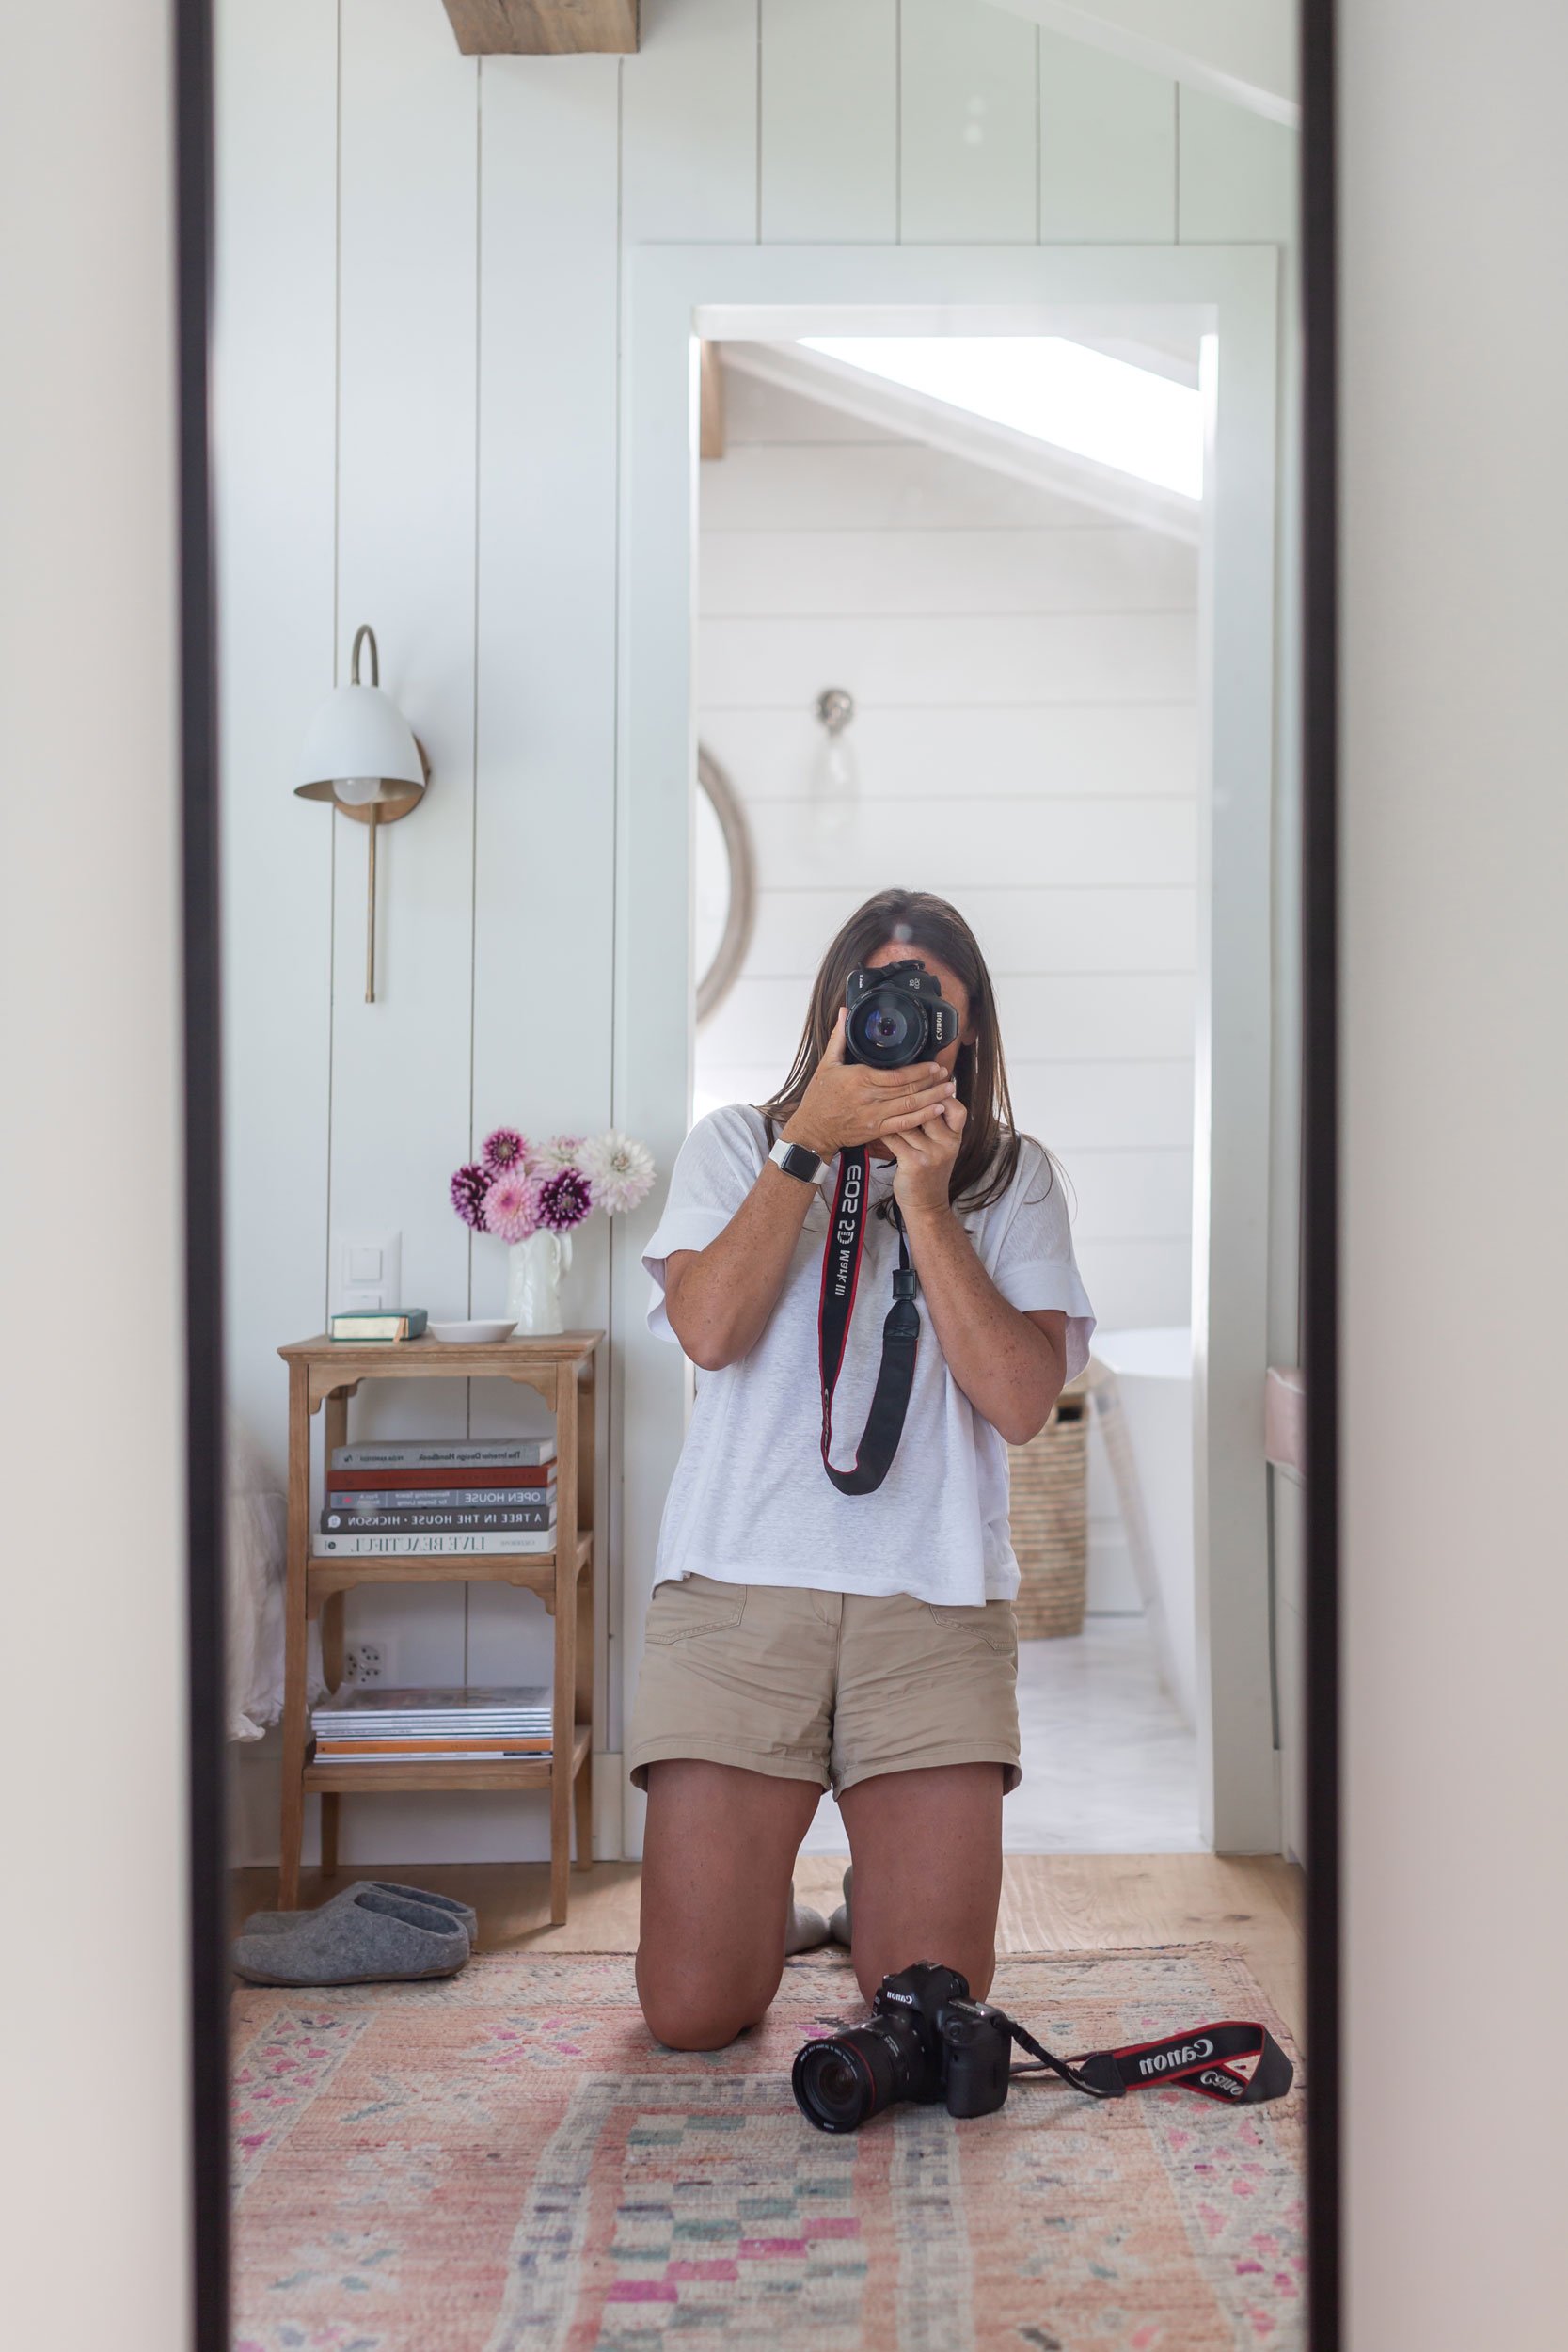
Walkthrough with the Photographer
If possible, arrange a walkthrough of the property with the photographer ahead of time. This allows them to plan the shots and gives you the opportunity to discuss any specific aspects you want highlighted.
Be Patient for Post-Processing
After the shoot, the photographer will take time to edit the photos. This can include color correction, lighting adjustments, and removing any distracting elements to make each room look its best. The post production is just as important and sometimes even more time consuming than the photography.
By taking the time to prepare for a property photography shoot, you can ensure that you get high-quality photos that highlight the best features of your property and potentially attract more interest from potential buyers or clients.
Read the following line for tips for the photographer: Property Photography - Photographer